Laravel framework comes with an out of box working authentication functionality for your application that includes Login, Logout, Register, Forgot Password and Remember me functions.
Laravel authentication tutorial shows you how you can enable the functionality in your application.
Requirements
- Working Laravel Framework (I am using Laravel 5.5)
- MySQL with database created to be used by your application.
- Configuration changes in .env file to set database properties.
Step 1 : Laravel Installation
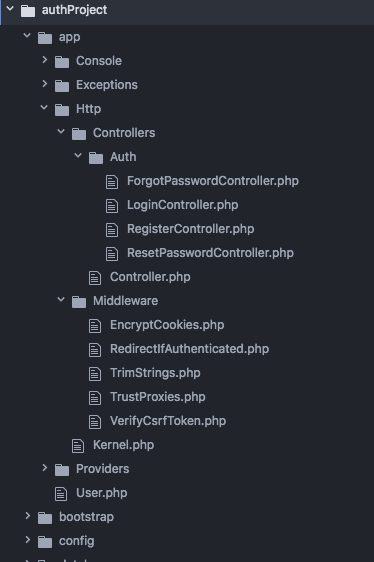
Make sure you have a working Laravel application on your machine. Also you have configured your .env file as per the database you are using. Once you have installed laravel. It should have the following folder structure.

As you can see Laravel application already have some classes that are specific to the Authentication functionality. Controller that are specific to the authentication module are under app > Controllers > Auth
Use coupon 5balloons on this Cloudways Affiliate URL to get special discount.
Step 2 : Run make:auth command
On your project root directory run following command.
php artisan make:authThis command will generate the required Controller files, views and routes that are required for the Authentication. If you open your route file (resources > routes > web.php) you should see the Route generated Auth::routes();
This specifically means following code.
   $this->get('login', 'Auth\LoginController@showLoginForm')->name('login');
   $this->post('login', 'Auth\LoginController@login');
   $this->post('logout', 'Auth\LoginController@logout')->name('logout');

   // Registration Routes...
   $this->get('register', 'Auth\RegisterController@showRegistrationForm')->name('register');
   $this->post('register', 'Auth\RegisterController@register');
   // Password Reset Routes...
   $this->get('password/reset', 'Auth\ForgotPasswordController@showLinkRequestForm')->name('password.request');
   $this->post('password/email', 'Auth\ForgotPasswordController@sendResetLinkEmail')->name('password.email');
   $this->get('password/reset/{token}', 'Auth\ResetPasswordController@showResetForm')->name('password.reset');
   $this->post('password/reset', 'Auth\ResetPasswordController@reset');
This command will create a HomeController.php file under app > Http > Controllers which is a basic controller and makes use of auth middleware to protect it’s functions to be accessed without being logged in.
public function __construct()
{
   $this->middleware('auth');
}
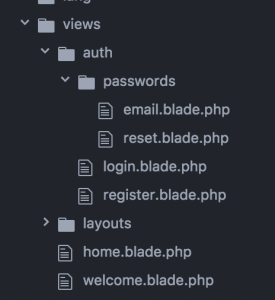
You can also see the view files generated by this command.
Step 3 : Run migrate command
Next, we need to run the migrate command to create the tables required for authentication. Run the following command on project Root in your terminal.

Once completed, it should create following tables in your database.

That’s It, Only these steps are required to enable the out of box authentication module provided by Laravel framework.
Step 4 : Test
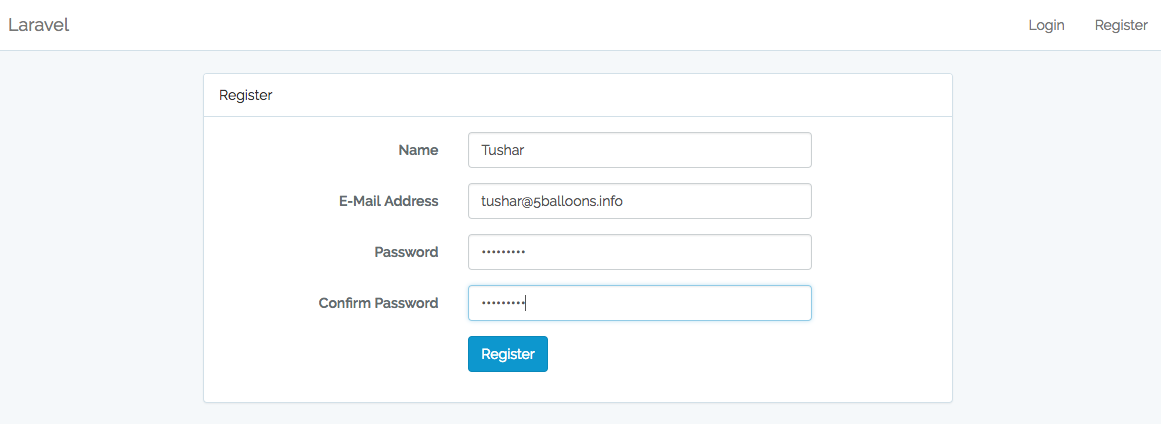
Let’s test the authentication to see if everything is working fine. Open /register page in your laravel application and you should see the following page.

Click on the Register button and it should create a entry into the users table with Hashed Password and a unique remember_token. You can now login into application by going to /login page.

This is out of the box authentication functionality provided by Laravel and should fit most of the applications. However there might be need for customisation and Laravel authentication module if highly customisable as per needs.
Great Job on Learning to Implement the Laravel’s Out of Box Authentication Functionality. Once you have the basic authentication ready on your application. You might find the following tutorials useful.
- Tutorial – Simple CRUD Operations in Laravel 5.5
- Change Password Functionality with Laravel 5.5 Authentication
- Send Email on Registration with Laravel 5.5 Authentication
- Email Verification and account activation after Registration with Laravel 5.5 Authentication

