This is a simple step-by-step guide on how to host your Laravel project to Digital Ocean with the help of Cloudways.
For this demonstration I have created a dummy Laravel project with the latest version and pushed it to a remote github respository.
Creating New Server
1. Add Server
Login into cloudways and click on Add Server
Use coupon 5balloons on this Cloudways Affiliate URL to get special discount.

2. Provide Required Information
Select the application Type – Laravel 8.26.1 (The Latest version should be provided by cloudways itself)
Name your Managed App – MyAppName. (Enter the application name)
Name your managed Server – Personal_Larvael_Projects. (Name your server)
Select your Project – 5Balloons (Select appropriate project)

3. Select Hosting provider – Digital Ocean
Choose the hosting provider as Digital Ocean if you’re looking to host your application on DO. After that choose the server size. I have chosen the lowest available size i.e. 1 GB for the demonstration.

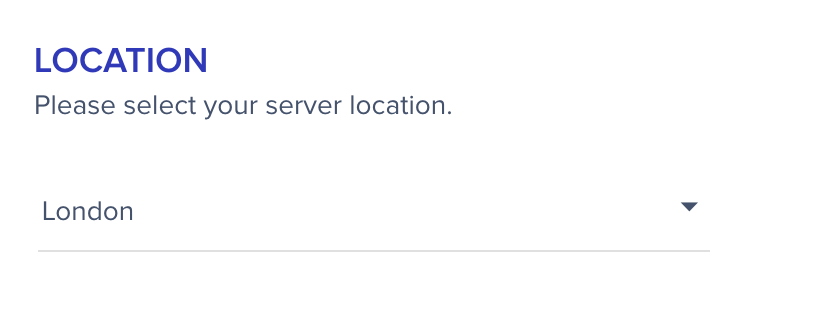
4. Choose Location
Location – London (I have chosen the default location that was provided by cloudways i.e. London)
5. Launch Now
Cloudways. will show the hourly and monthly cost that you are supposed to pay, before you can decide to launch the server. Click Launch Now button to allocate the server.

It will take some time to allocate the server

Once the server is allocated, you can now move on to the next step.
Deploy Application
We can now move on to the next step i.e. to Deploy the application.
1. Generate SSH Key
Choose your newly created application, from the applications tab in the top navigation. Click Deployment Via Git option from the left navigation option.
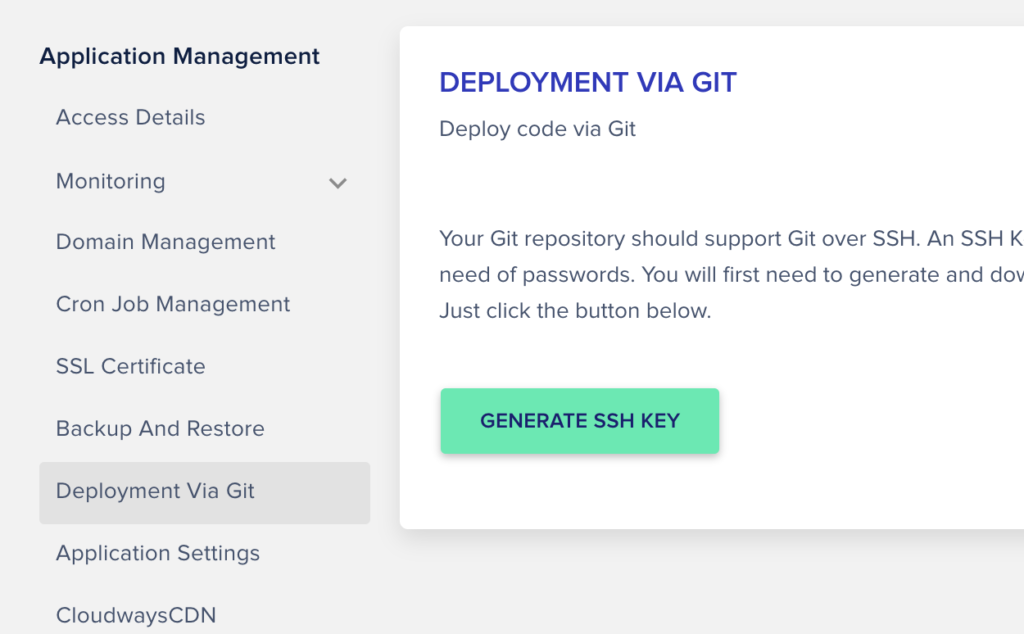
To be able to put our code from Github to DigitalOcean, we need to add our cloudways public SSH key to github.
Click on the Generate SSH Key Button.
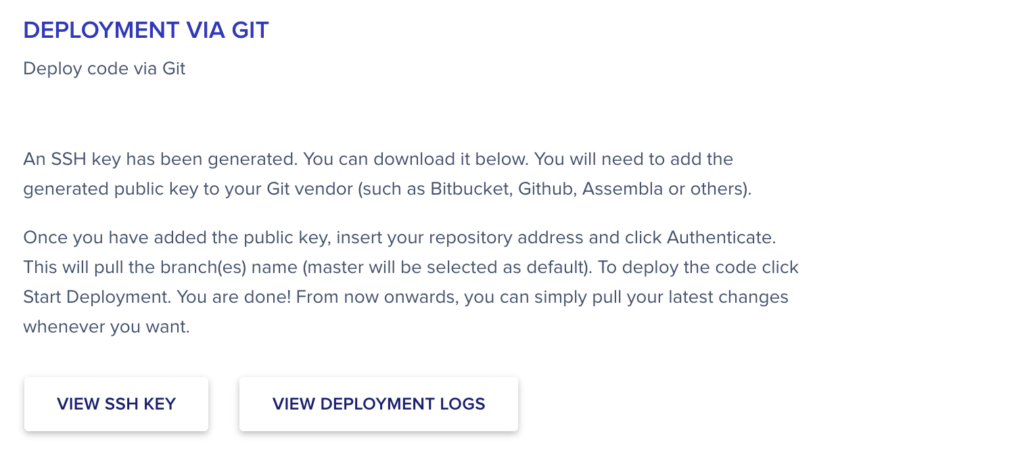
Click on the View SSH Key to view / download your SSH Key
2. Add SSH Key to Github
Once you have the SSH key ready you can add it to Github. Login to yout github account and navigate to the repository you are looking to deploy to digital ocean.
Click on the Green Code button.

Move to the SSH tab under the clone option.
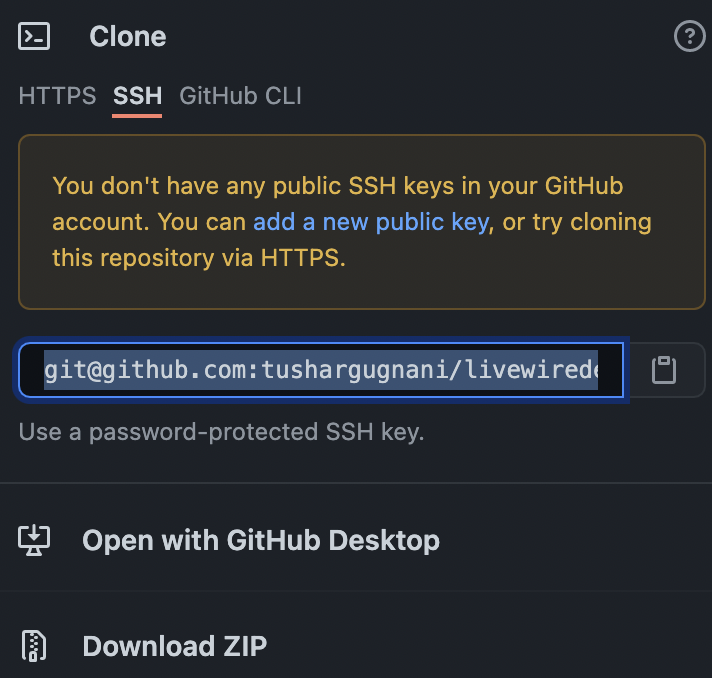
Here you will see a warning message along with the link to add a new public key. Click on that link
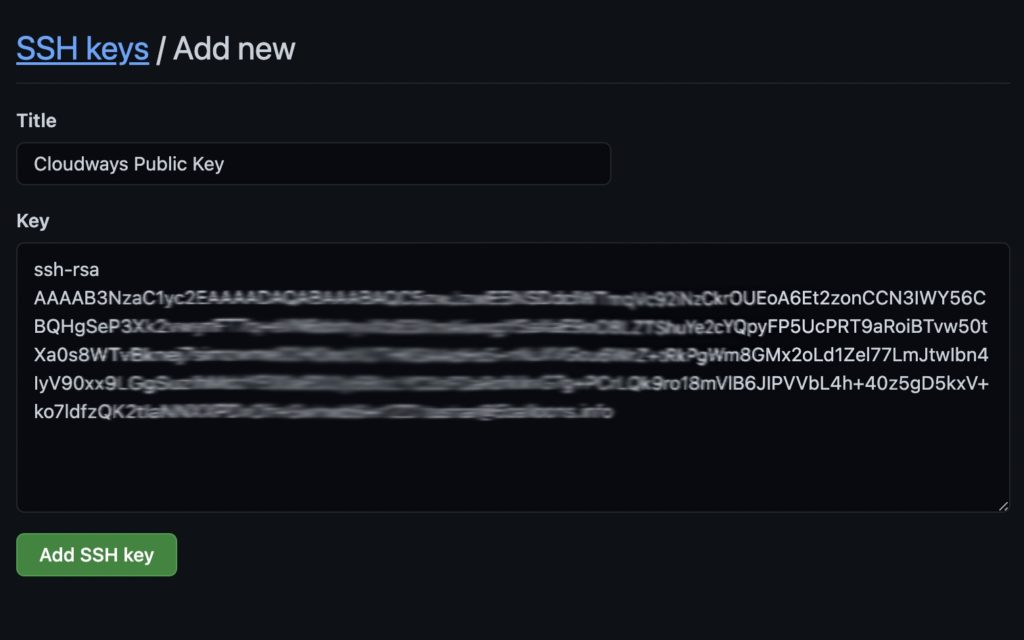
I have named my key Cloudways Public Key and add the copied key string from Cloudways. Click Add SSH Key
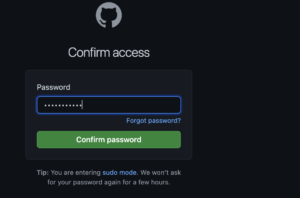
You will be asked for the password. Enter your Github password and click Confirm Password.
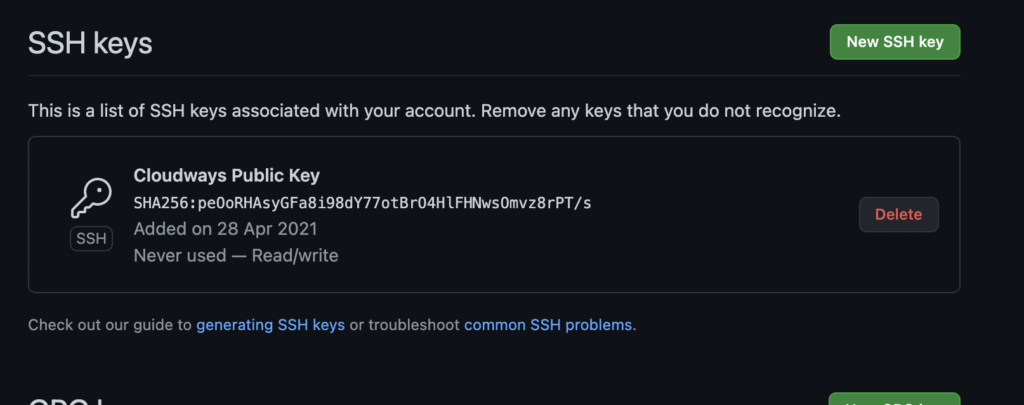
You can now see the new SSH key added to your Github account.
3. Provide Remote Git Repository Details
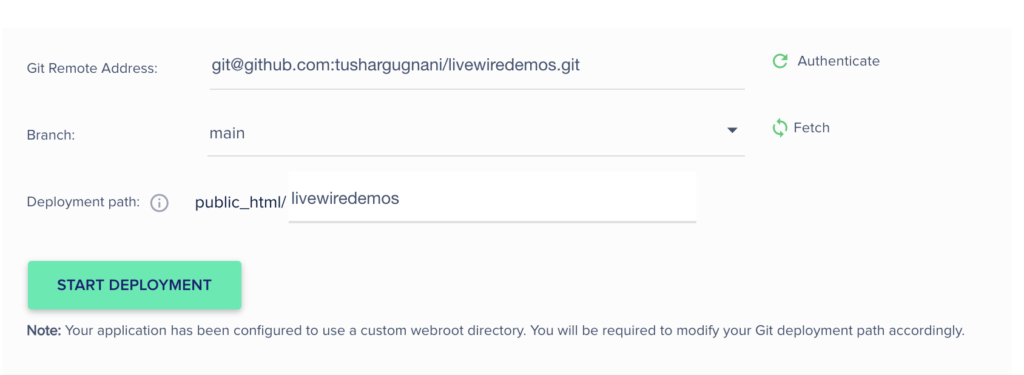
Coming back to the cloudways, under Deployment via Git tab. You need to provide the following details
Git Remote Address : SSH url of the github repository (you can copy it from github). Click Authenticate once you enter the URL to check if the SSH key integration is working and this will also fetch you the branches.
Branch : Select branch name you want to deploy.
Deployment Path : Put the folder name inside public_html where you want to deploy youtr project. Leave blank if you want to put your project inside public_html. I have given the same name as my application name.
4. Start Deployment
Once you provide the details, click on the Start Deployment button to start putting your code from Github to Digital Ocean.
Once the deployment process is completed you will get an alter notification about the completion.

Application Deployment is completed, Let’s move on to the next step.
Getting Application Ready
We have our application code deployed to the server. But we still need to do some more work to make it work. In here we will SSH into the application and run the composer install and also will make sure we have the environment ready
1. SSH Into the Server
Next up, navigate to your Server in cloudways. And choose Master Credentials from the left navigation.
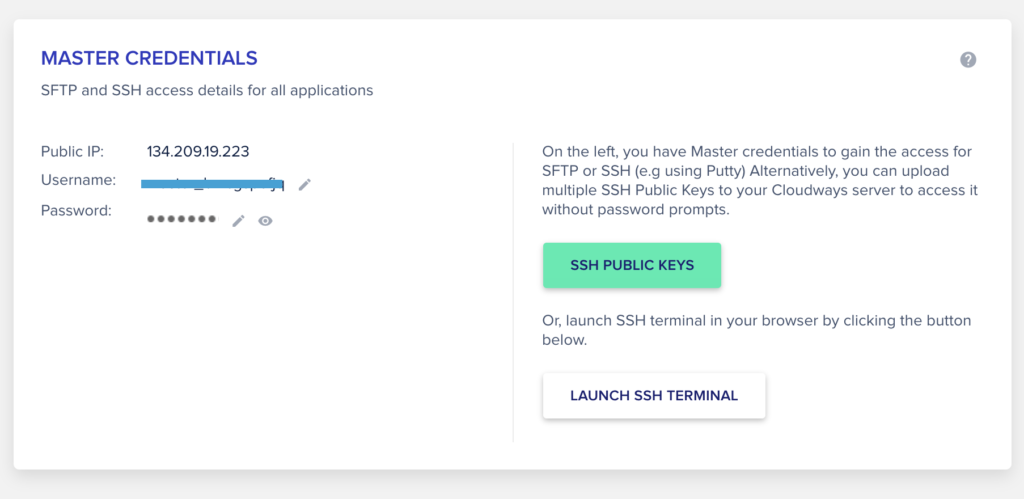
Click Launch SSH Terminal Button
It will open a new tab in the browser wherein you can SSH login into the server from the browser itself.
Copy the username and password from the master credentials and provide the SSH details
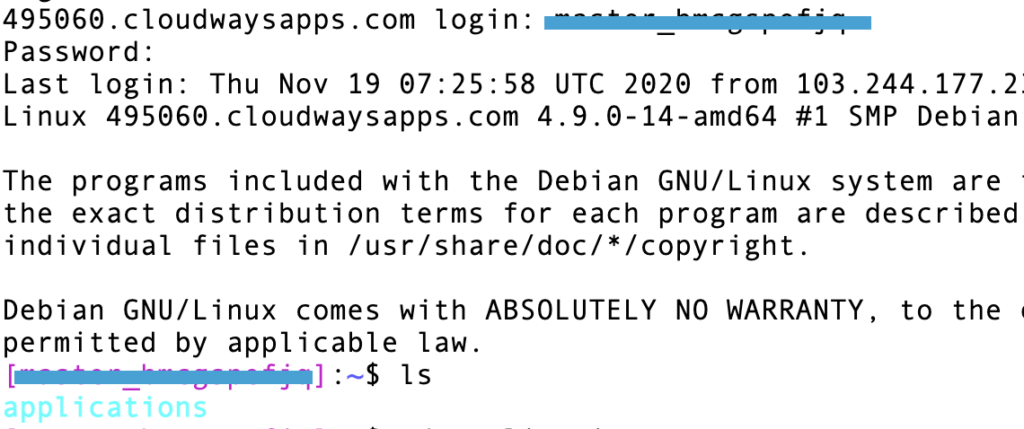
2. Composer Install
Navigate to the project root directory which will be inside applications/{cloudways-app-name}/public_html/{your-app-name} and run the following command
composer install

3. Setup Environment Configuration File
You need to have a .env file in your project. You can do so by copying the example env file
cp .env.example .env
You also need a application key generated to run your laravel application. Run the following command to do so
php artisan key:generate
4. Database Setup
Also change the database name, username and password in the .env file if you want the project to be connected to the database. You can fin the database details in Applications -> Access Details
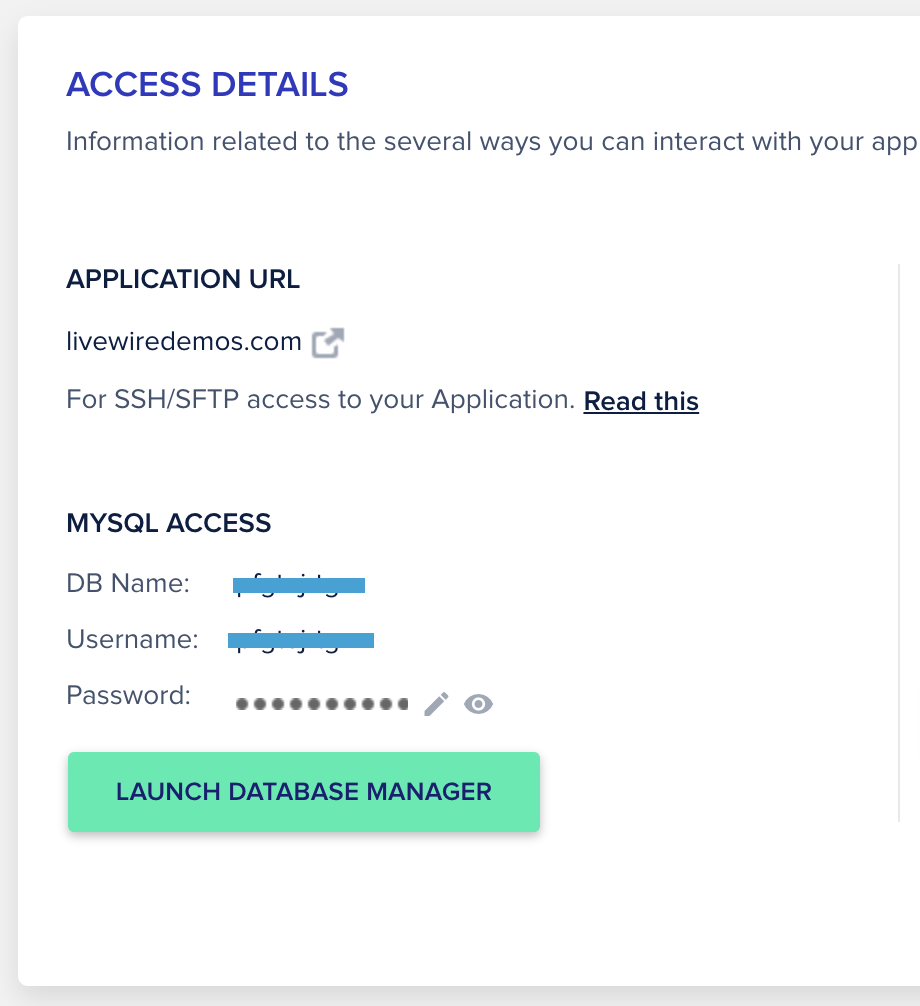
You can run the following command by SSHing into the server and navigating into the project directory
php artisan migrate
php artisan db:seed
You can now try to access the application by clicking on the arrow key next to the application name

This will open up the application in the default URL allocated by cloudways. Great job till here.
In the next step we will see how you can add your domain name to the application.
Domain Management
Next Up, You are definitely looking to connect your domain name with the hosted application. Here is how you can do it.
1. Add Domain to Cloudways
Choose your application from the applications tab and navigate to Domain Management
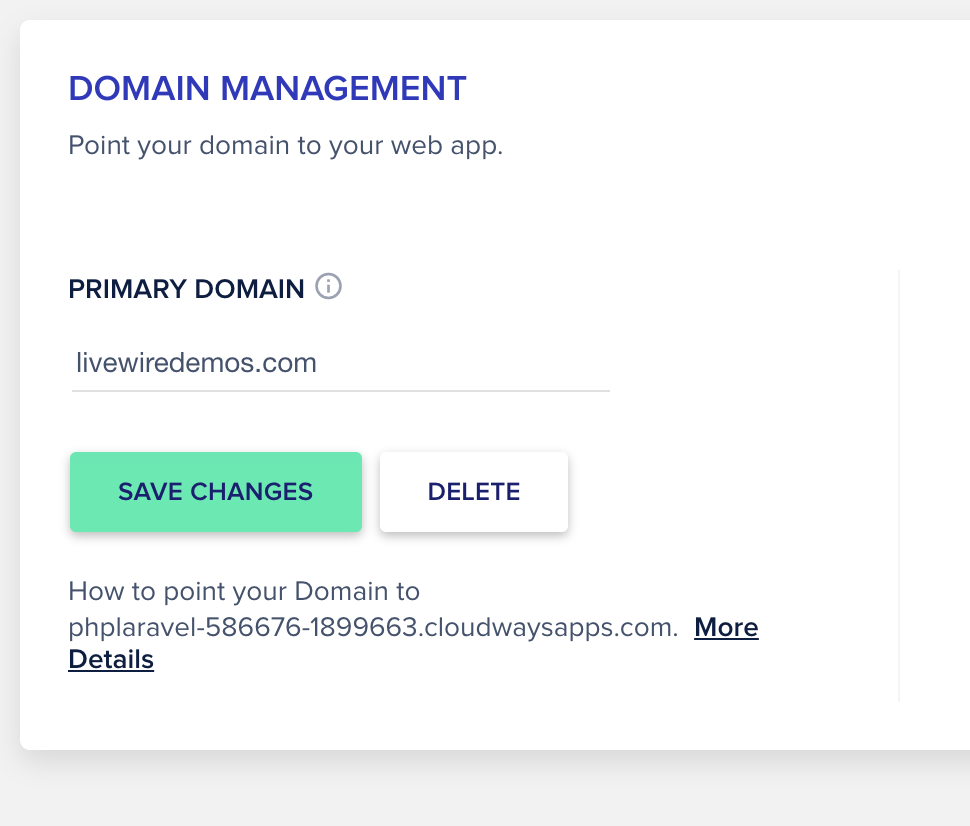
Enter your domain name without the http or www and click save chanages
2. DNS Changes
You need to add some DNS configuration to the domain provider you are using. Since I am using the Google Domains I will be making the necessary changes in there
First up add an A record that points to the public IP address provided by cloudways
You can find your public IP address in cloudways in Application -> Access Details
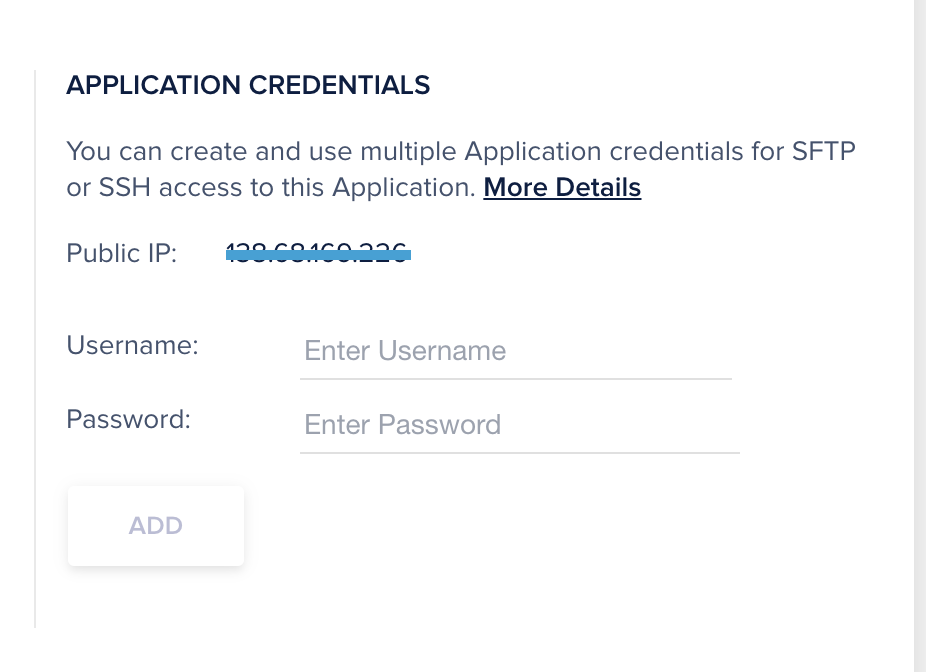

Add a CNAME record that points www to your domain name.

Save the changes and wait for some time for the changes to be populated. Once that is done, you can access your laravel application with your domain name.
Securing Website with SSL
Last but not the least, lets see how you can secured your website with SSL encryption so that your user would be able to access it using https secured protocol
Go to your application and select SSL Certificate
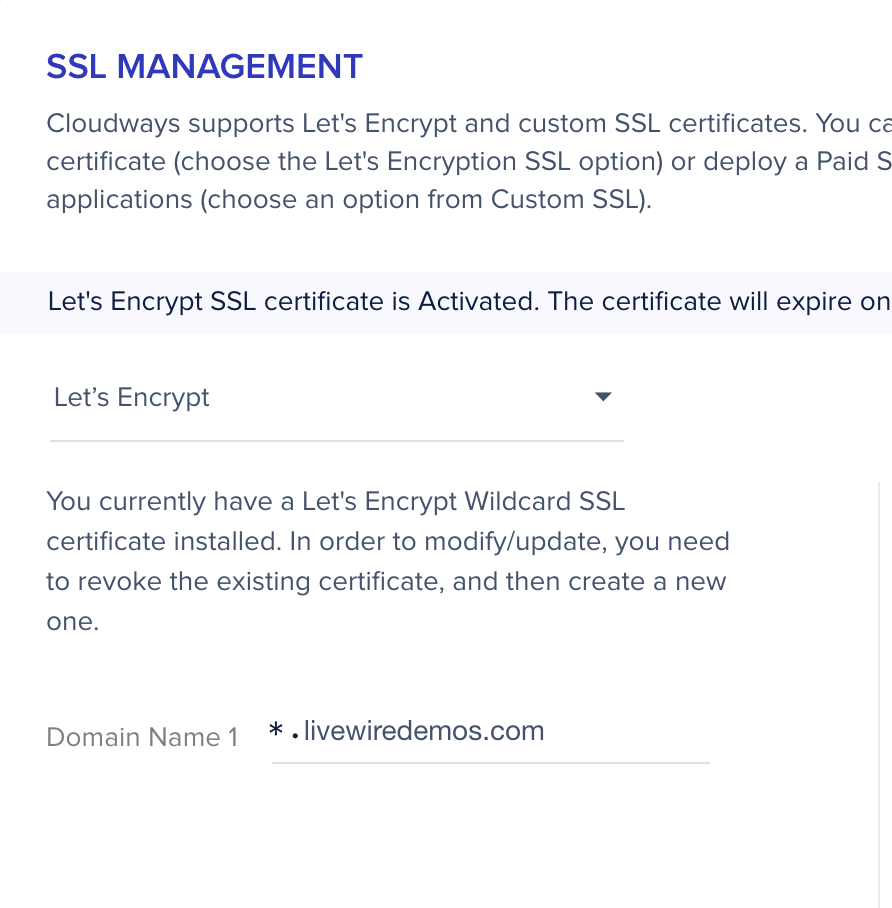
Choose the Let’s Encrypt free encryption. It will ask you to add a DNS record in your DNS Setting for the verification. Once completed your website will be SSL certified.
That’s all about hosting your Laravel application on Digital Ocean using Cloudways.

