Laravel Dusk Installation
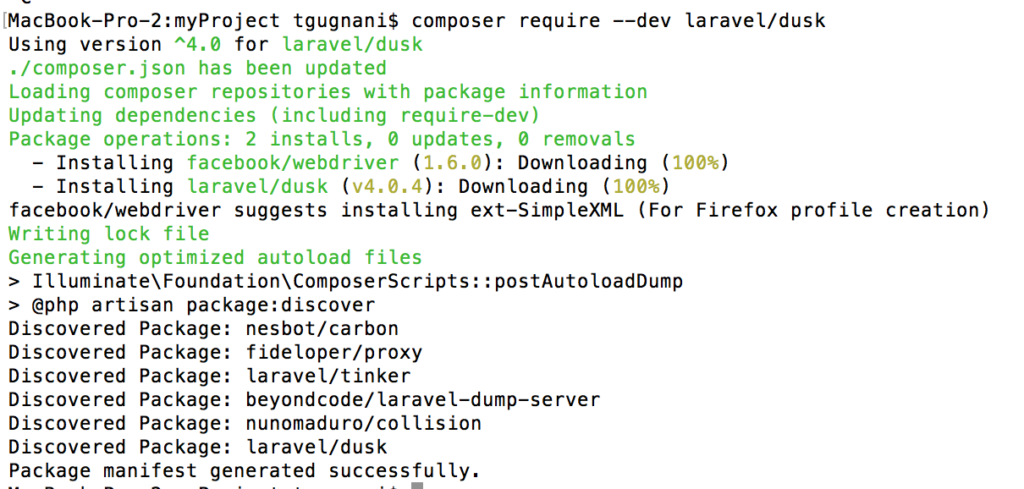
To install Laravel Dusk on your project, Go to your terminal and navigate to the project root and all the following composer dependency by running the following command.
composer require --dev laravel/dusk
Once the dependency is included. Now you can go ahead and install dusk on our project by running artisan command dusk:install
php artisan dusk:install
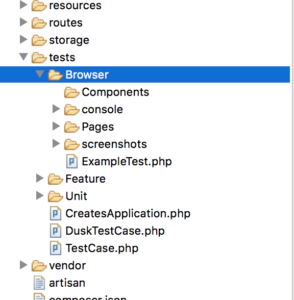
This command will generate and add Dusk scaffolding into the project. You will find a new directory named Browser created inside your tests directory.
Use coupon 5balloons on this Cloudways Affiliate URL to get special discount.

This also contains an ExampleTest.php which contains an example dusk test.
<?php

namespace Tests\Browser;

use Tests\DuskTestCase;
use Laravel\Dusk\Browser;
use Illuminate\Foundation\Testing\DatabaseMigrations;

class ExampleTest extends DuskTestCase
{
    /**
     * A basic browser test example.
     *
     * @return void
     */
    public function testBasicExample()
    {
        $this->browse(function (Browser $browser) {
            $browser->visit('/')
                    ->assertSee('Laravel');
        });
    }
}
You can run the dusk tests by running
php artisan duskIf for some reason you encounter an error with message "There are no commands defined in the "dusk" namespace." , this means that the dusk is not properly installed. Try re-installing it.
Also if for some reason the default Dusk scaffolding that contains the Browser directory with sub-folders such as Components, Console, Screenshot etc. is not generated for you, or if you accidentally delete some file. You can re-generate the scaffolding by running
php artisan dusk:installThis was all about dusk installation. Next, you can learn How to generate a new dusk test.

Laravel Dusk Beginner to Advanced
Video Course on Automation Testing, Web Scraping and Creating Bots using Dusk

