Laravel Dusk with Different Environment .env File
At times you might want to create a seperate environment to run your Laravel Dusk Tests. Dusk provides an easy way for you to use a different environment file.
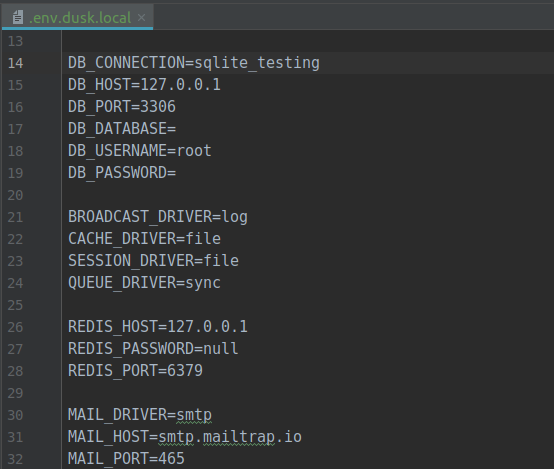
To force dusk to use it’s own environment file other than the default .env file located at your root folder, do the following.
Create a new file named .env.dusk.{environment} where environment is the name of the environment you are working on (local / testing /dev). If you are running dusk test on an environment with name local, you should name your file as .env.dusk.local , if you are running dusk tests on an environment with name testing you should name your file as .env.dusk.testing
If you are looking to check the name of your working environment, open .env file and look for
APP_ENV=localThe different environment file created can be used to have a separate database for your dusk test. If you are looking to change the default database for laravel dusk tests. Go to your .env.dusk.local file and change the DB connection settings.
Use coupon 5balloons on this Cloudways Affiliate URL to get special discount.
DB_CONNECTION=mysql
DB_HOST=127.0.0.1
DB_PORT=3306
DB_DATABASE=database_dusk_testing
DB_USERNAME=root
DB_PASSWORD=
Similarly you can alter other config settings for laravel dusk such as mail, pusher settings etc.
Note: Dusk will backup your .env and move .env.dusk.{APP_ENV} to .env so the browser can match the same environment as yours. This, however, fails to happen when using php artisan serve because serve will cache your env variables the moment of starting to serve. This can be solved by running php artisan serve --env=dusk.local (switch local for anything you use locally).
Next up, Checkout how to Migrate and seed your database before running dusk tests.

Laravel Dusk Beginner to Advanced
Video Course on Automation Testing, Web Scraping and Creating Bots using Dusk


